Anyone else ever tried this?
I was replacing my strings last night, and for the first time realised that some of my frets were pretty buggered. The B and high E in particular had gouged deep grooves in the first two fret wires. I don’t have the money to throw at a luthier so decided to practice what I preach and have a go myself. I don’t have the money for dedicated tools either, so had to use what I have lying around… three grits of sandpaper left over from a bone bridge/nut kit, Autosol metal polish, masking tape and a ruler. Here’s what I did.
Step 1: Taped up the fretboard around the fret wires to be worked on, to preserve the finish and prevent it getting scuffed up.
Step 2: Carefully and with minimal pressure, sanded down the damaged frets until the grooves were gone. The sandpaper patches were small so I used my finger, using the ruler placed across the frets to ensure they remained a similar height.
Step 3: Even more carefully sanded the edges of each fret, to remove the flat surface created by step 2 and make the fret curved again. I used the profile of undamaged frets for reference.
Step 4: Used the finer grit sandpapers to progressively smooth and polish the frets.
Step 5: Used good old Autosol to polish all 21 frets to a brilliant shine. Job done.
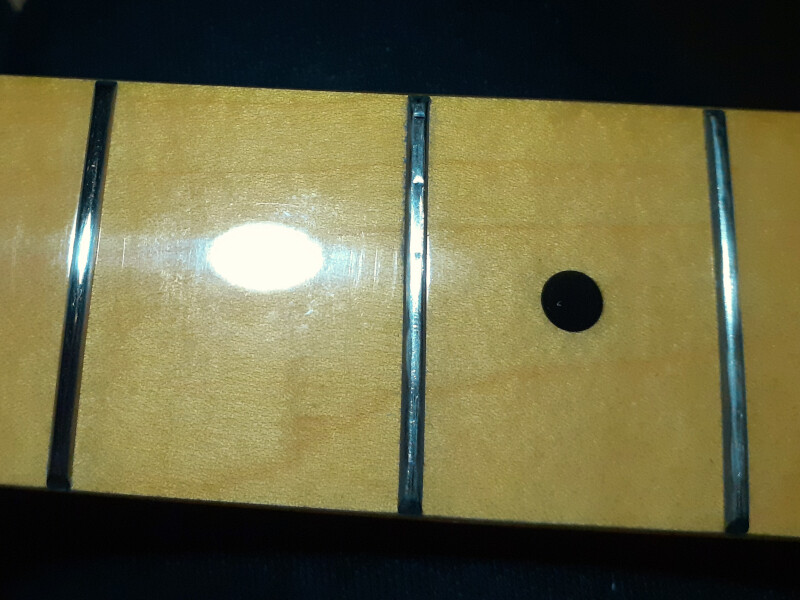
Unfortunately I didn’t think to take photos until I was already halfway through the job, so don’t have full before and after shots. In this one fret 1 is done, and I’m about to work on fret 2.
DISCLAIMER: Regulars may know that I advocate DIY guitar adjustments and maintenance, my usual argument being that with a little common sense you won’t break anything and can always revert any changes. That is not the case with DIY fret dressing! Sanding down frets is permanent and non-reversible, so you should only attempt it if you are confident in your own abilities. I would also advise the use of dedicated tools.
This thread is mainly to show those who have absolutely no money to spare (like myself), that DIY fret dressing is possible at zero cost. So, you don’t need to live with worn frets which will likely break strings which you can’t easily afford to replace.