This guide is intended to allow folks to check their set up and levels on the StreamYard platform, in advance of any planned JustinGuitar shows. This can be done in isolation, as links to such events will be unique and shared with the Community nearer the time of a show.
To access StreamYard go to
If you have not accessed Streamyard before, you will need to set up an account. Enter your email address and click on Get Started. You will then be sent a 6 digit log on code for verification.
After entering the code select Personal Use and click on Onward. This will take you to the main Streamyard menu. If you already have an account login using those details.

For audio/video checks, you can either just record within StreamYard or if you prefer send a private stream to your YouTube account/channel.
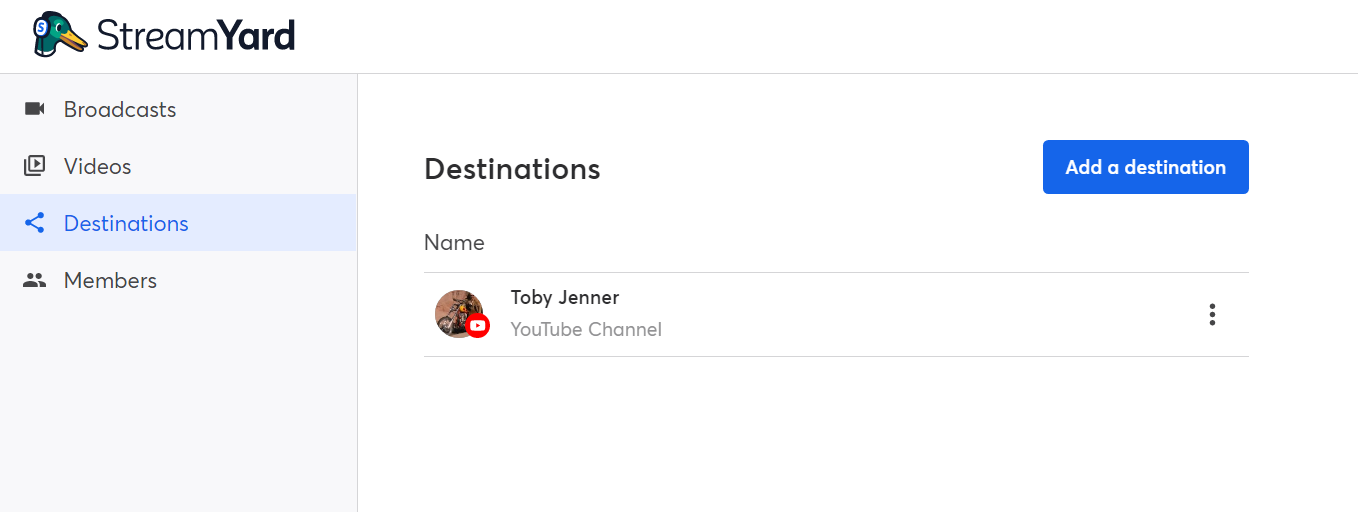
For the latter, use the Add Destination to declare your YouTube Channel and follow the instructions.
OK that is all you need to do in preparation for soundchecks etc.
Soundchecks Via StreamYard Video Recording
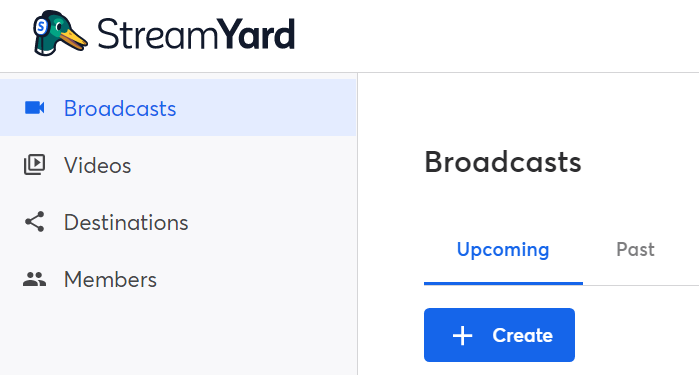
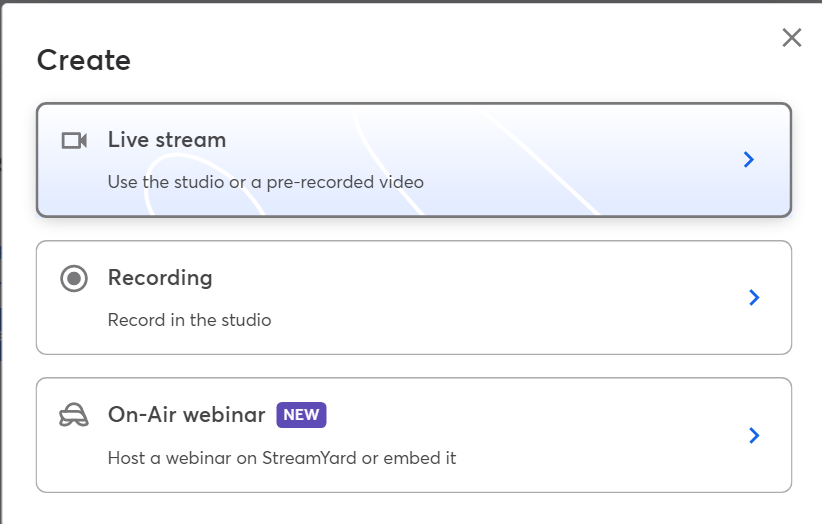
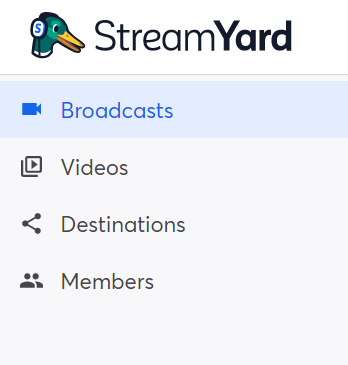
Select Broadcast, then select Create from the Broadcast menu.
And select Recording

Enter a title eg “Xmas Bash Soundcheck” then select Create Recording.

This will take you to the area to apply your mic and camera settings.

Enter your display name
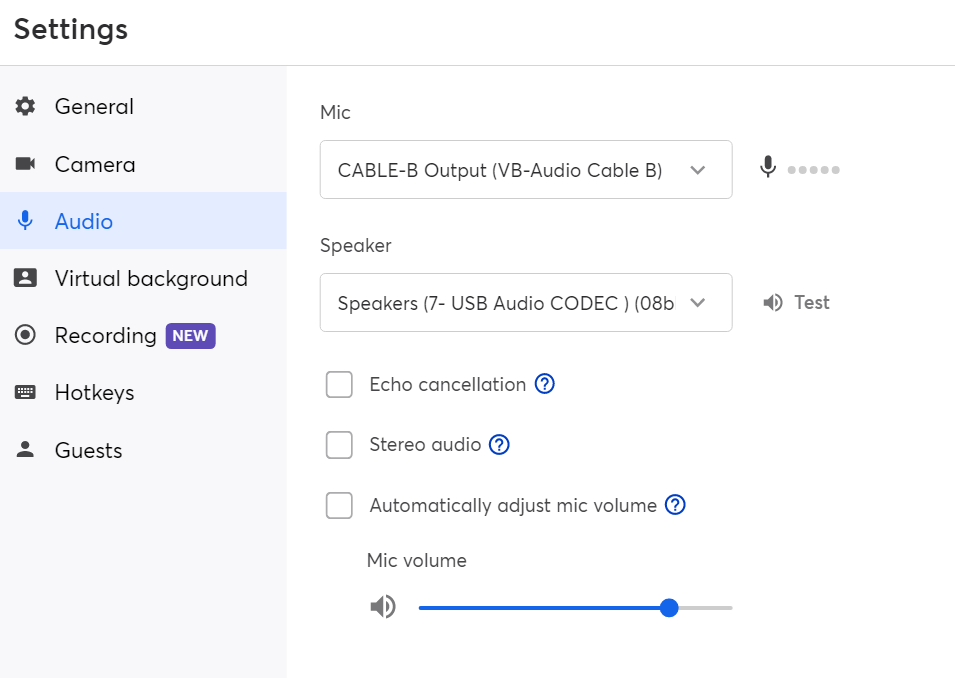
And use the Settings Cog to set up your Audio and Video inputs, Those familiar with setting up for Zoom use the same devices (including OBS users). For new users use the Camera and Audio section to add your devices. Make sure Echo cancellation is unchecked.
Close the Settings window and select Enter Studio. Hover over the “screen” display in the bottom left corner, which should then say Add To Stream, click on the screen.

This will then launch the video view that you will present to StreamYard.
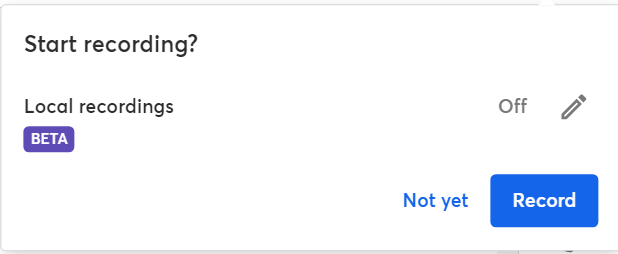
To record a performance, hit the Record “button” in the top right corner of the screen.

Then hit Record again in the new window to confirm the recording is to start.
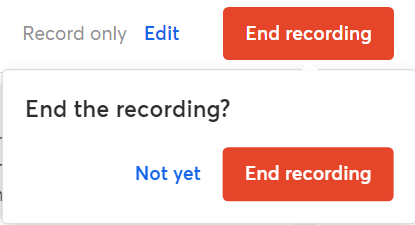
At the end of the performance hit End Recording and again for the confirmation.
Feel free to ignore the How Did It Go ? question – I do !!
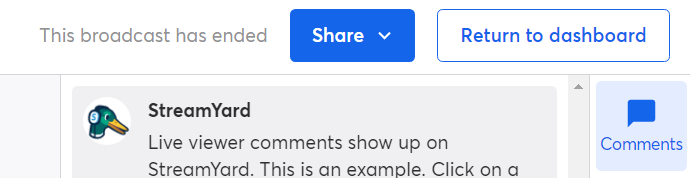
To view the video select Return To Dashboard, top right of screen.
Select Videos from the main menu, which will then show your recording(s).

You can view the video in situ by clicking on the entry or use the download option behind the 3 stacked dots (slim hamburger!).

And that’s it, wash rinse repeat.
Soundchecks Via StreamYard private stream to YouTube
Note - when setting up streaming to YouTube, approval is required on your YT account, which can take 24-48 hours.
From the main Streamyard menu, first select Destination to ensure your YouTube channels is declared,

Then select Broadcast, then create as above. Then select Livestream.
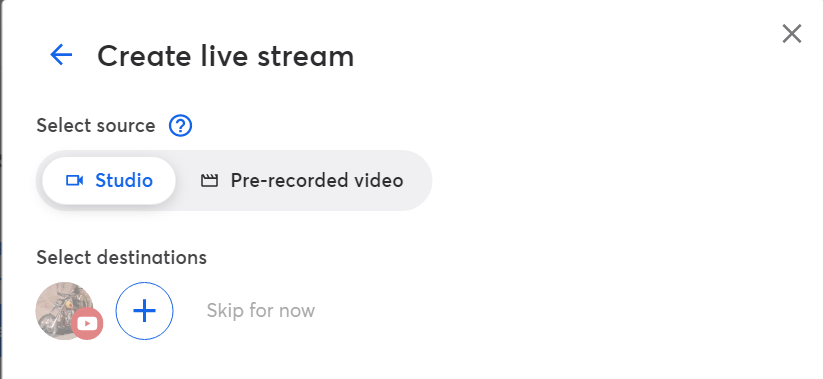
Ensure Studio is selected, then click on your destination ie YT channel entry.
Enter a title eg “Xmas Bash Test Stream”
Then select Private from the Privacy dropdown menu,
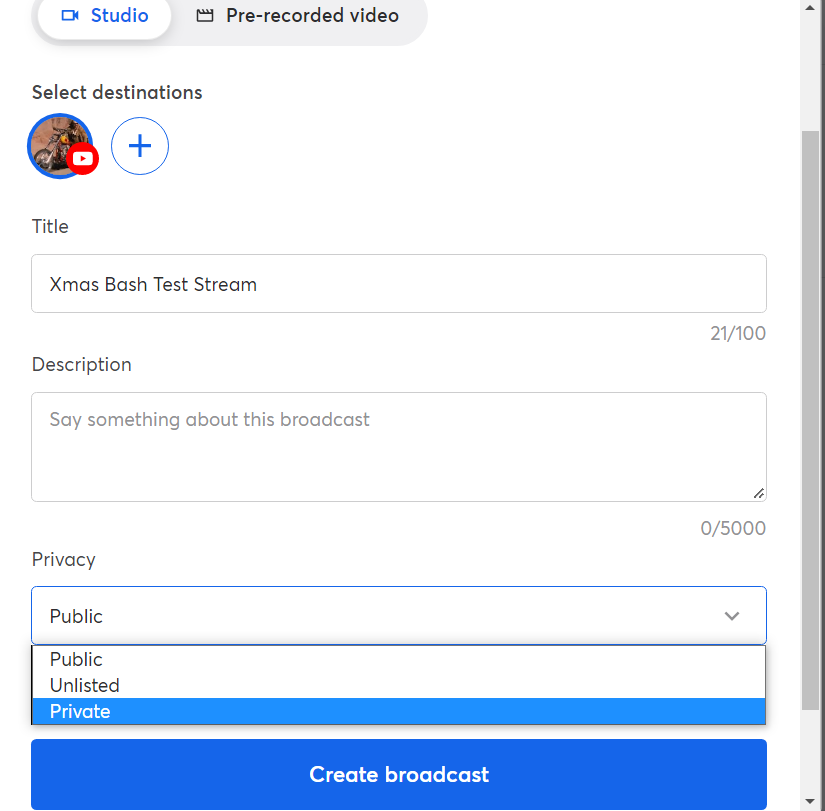
The select Create Broadcast, As above (for Recordings) you will then enter the mic and video check area. If not done so already set up your mic and camera as above. Enter a display name then hit Enter Studio.
Again click on the screen image in the bottom left corner (as per Recordings) to add you display screen and audio to the stream. Nearly there!
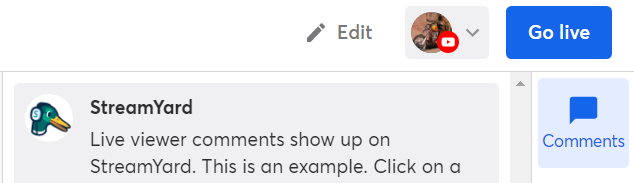
Then hit Go Live, top right corner and confirm. And you are on the air peeps !!! Cool but just your own private arena of course !!

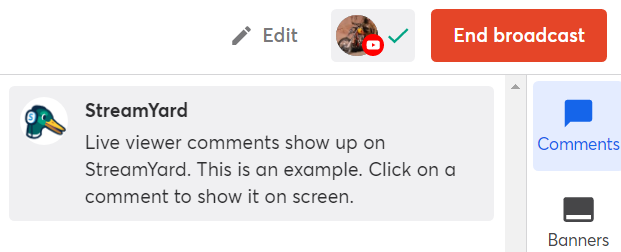
Practice your performance and when finished hit the End Broadcast and confirm.
It will take a couple of minutes to save the Broadcast video on YouTube, then present the How Did It Go ? prompt (Hit X !!)
Then select Return To Dashboard top Right.

To view the recording of your Livestream test, from the main menu select Broadcast, then select Past.

Use the three stacked dots (slim hamburger) to view the recording on YouTube.

The video will then be automatically played in YouTube
Optional
For those inclined to do so, you can then check sound levels on the YouTube video by right clicking the video and selecting Stats for Nerd, as discussed in previous recording guides.
An ideal YouTube Volume level would be around -6db. Levels below -10 to -20 will be quite quiet and should be elevated if possible.
Down loaded videos can be loaded into a 3rd party loudness meter like Youlean Loudness Meter or you could verify levels in a DAW. Ideal Loudness meter levels for YouTube, (which is where our eventual show recordings will reside) aim for a True Peak level circa -2 db (above -2 db ie -2 to zero db and above will result in clipping and potential audio break up) and an Integrated LUFS level of 13 LUFS (based on current YouTube preferred audio settings.
But worry if you are too quiet on the day of an event, volumes can always be adjusted in the pre-show sound checks, that will be communicated at the time.
Back To StreamYard
To create another recording or test stream, click on the Broadcast menu button and repeat the processes above.
Hope that helps. Not an expert so would only be able to answer basic questions.
![]()