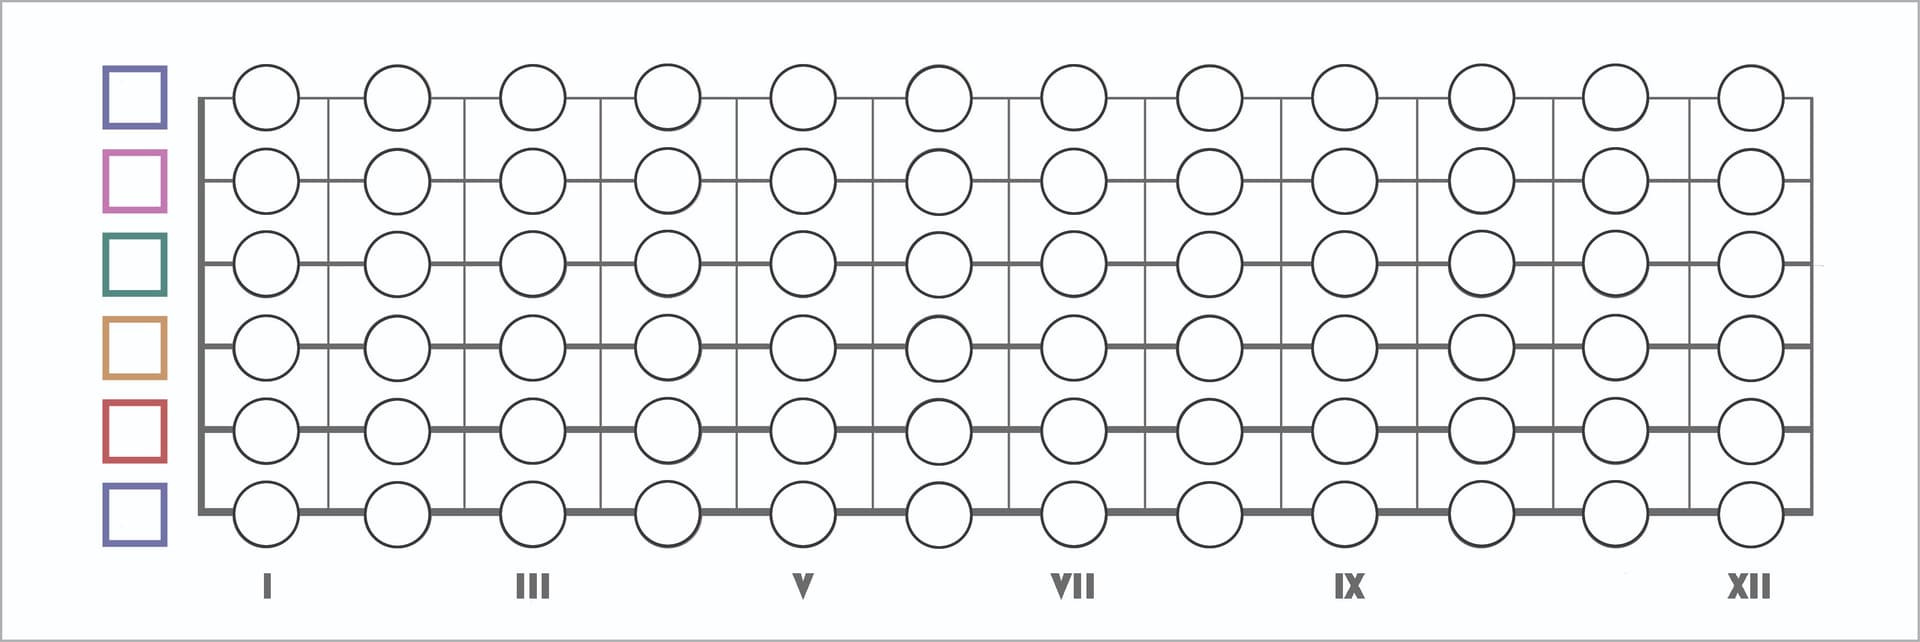
Hello everyone. I saw this idea long ago when I wasn’t good enough to learn all the notes on the keyboard. Now, I feel like I have to learn them so I searched every place on the internet to find something like this diagram but I couldn’t. So, I made myself and I want to share it with you so some of you may use it. I wish you all good practices.
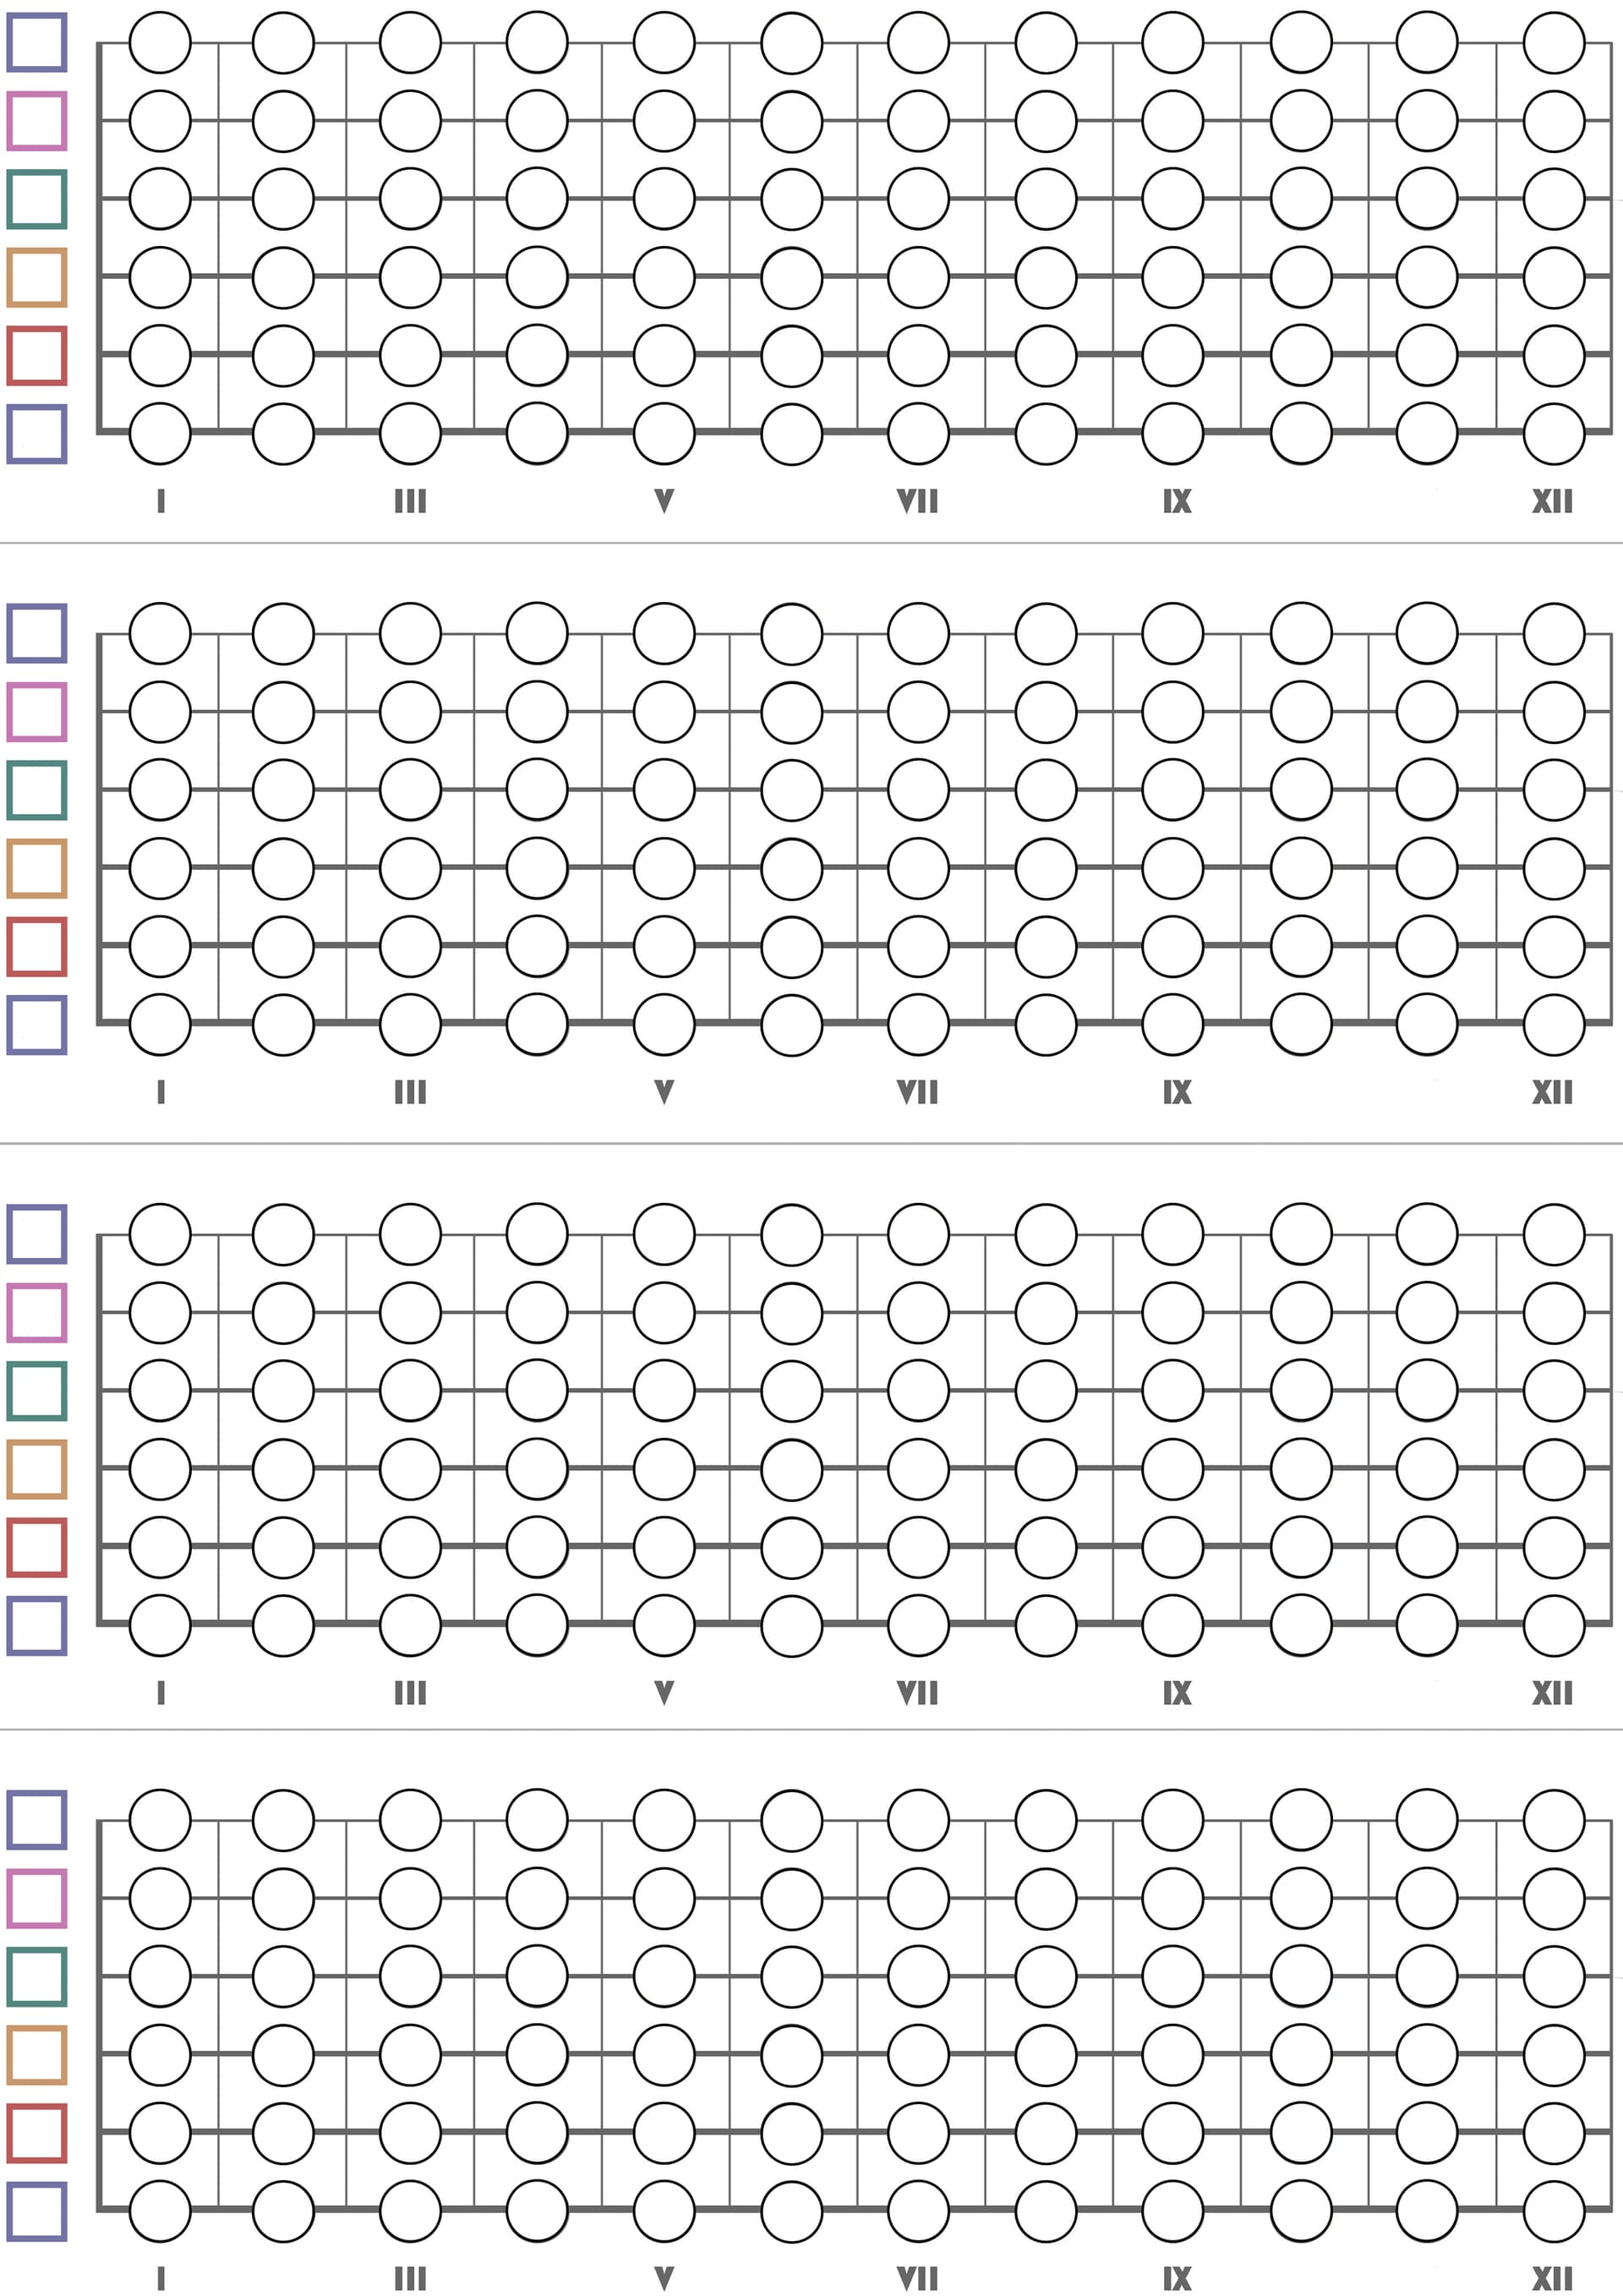
Best practice is print the diagram and fill the circles with appropriate notes. Duplicate this diagram and do it over and over again.
! Important point if you don’t know. Begin with writing open strings to avoid confusion. the Low E (thickest) string is at the bottom while the High E (thinnest)is at the top. Thanks for @stitch to point this small but important detail.
Hello again everyone. I updated the diagram to be more efficient and look better. I hope you like it. I thank @Lefteris and @stitch for their great ideas.
That’s a good Idea but make sure you fill it out in the right direction. The thickes string is the botton line. This is because it produces the lowest note.
Most beginner think it’s the top string. Music for all instruments is lowest note at the bottom highest notes at the top. Making the guitar neck look upside down.
The best way to avoid this is put the open strings in first. From bottom to top E A D G B e.
It also might be a good idea to make the lines different thicknesses.
@Notter You’re welcome Mark. Good luck on your practices.
@stitch Wow Rick that’s very very important point you figured about. I will edit the post and tell about this point. I need more time to change to thicknesses of the strings.
Justin mentions doing exactly this on his train travels when he was a beginner himself. I do not remember which video.
For beginners doing this, 2 recommendations from me:
Do not do it from left to right on one string. Instead, do all empty strings, then all 1st frets, then all 2nd frets (or even random frets) etc.
Cover the frets you just did so you can’t see and calculate the next note from it.
These are because the end goal is to be able to instinctively say “5th fret on the G string is a C”. If you are seeing the previous B note, it would be trivial to say C without really learning it.
@LesPaulMoreRay Of course there are but when I tried them they were not really efficient for me. I am a visual learner and writing things help me to memorize. It can be better to mix those apps and printing these kind of diagram to work on them physically.
I like it! A great exercise for when you go on vacation and can’t bring your guitar along. I see value in marking off the notes and then filling in the triads, noting the 3rds and fifths, etc. Chords in a key is another way to expand the learning. If you can approach the fretboard on a blank piece of paper, you can easily apply it to the real thing. You may want to use different colored markers for some of these exercises. Well done!
@Karende Thank you very much. I am glad that you like it!
@hsredman0911 I hope it does help you. You’re welcome.
@CT Dude these are really amazing ways to use this diagram. Frankly, I never thought of working other things like triads, 3rds other things but yeah it can be handy to work on them too! You have a great evaluation skills indeed
That’s really nice, thanks for making it and sharing it.
I would make a small change if I was making it.
Instead of numbering the 11th fret I’d number the 12th so that the numbers would coincide with the fret markers.