Kidding aside, this is my first so I’m scared and excited at the same time.
Seeing this as an opportunity for fun and learn something.
If someone has done this before, I’d appreciate any advice!
Update
I organised the components for both kits I bought and there were bits missing from both. That was a tad disappointing but I messaged fuzzdog and seems they’ll make good.
I don’t know if y’all are up for updates as and when I make progress. I don’t want to be a nuisance
I haven’t built a pedal, but I have built tube amplifiers, DACs and a bunch of other electronics with lots and from scratch.
Have you ever soldered or built anything like this before?
First advice is to follow the instructions (in know, right?). But not sure where else to advise. It looks like a straightforward kit, so if you can solder, it should be easy. If you have never soldered, there is a lot of advice that is herd to give unless in person.
Building a valve amp would be a cool project once I get better at this! I admire you!!
The pedal is a Rat clone with a 3 band eq instead of a filter.
I also got a tubescreamer clone but the rat has fewer components so I started with this.
Seems not too hard but checking the parts, it’s missing a clipping switch
I have soldered guitar electronics… And they work… Not the best job out there but I’m getting the hang of it.
Building amps and pedals is loads of fun… pretty soon you’ll be doing your own on perfboard. I have several that I’ve done… all different kinds of effects. http://effectslayouts.blogspot.com/ is a great place to get layouts from. The last one I did was a small clone chorus copy Really great sounding pedal.
As far as advise start with the lowest parts first. Use good rosin core solder. and take your time.
The advice I’d share from building my first pedal would be to double and triple check you have the right component, 4.7K and 47K are easy to mistake for one another when reading handwritten labels made with a pencil, and also that your polarity is correct before you solder anything.
I think the soldering iron you have will work. use a damp sponge or rag to wipe it and keep it clean. .032 size rosin core solder probably works the best for pcb’s.
The soldering iron looks fine. Agree, wipe with damp sponge, make sure there is a little solder to tin the tip, make sure you apply enough heat to both the circuit board and the component lead, but not so much to melt the board plastic. Use just enough solder so it doesn’t glob up.
If you need to google what good solder joints look like. It is easy but often overlooked. A poor solder joint leads to a poor connection and failure that is hard to find.
I did soldering classes over 25 years ago when I was an apprentice at Marconi Instruments.
It’s worth spending time practicing soldering of you are going to do this sort of job.
Despite the classes, I don’t consider myself an expert, but here is my advice.
Any solder joint should be mechanically sound. Don’t rely on the solder to hold the components in place
Make sure the iron is the right temperature for the solder. A temperature controlled soldering iron with adjustable temperature is not that expensive and is a great investment.
Learn to desolder as well as to solder. Sometimes you make mistakes and learning how to undo them is important. Solder suckers are your friend. They are also useful when you want to remove components.
Clean the iron every time you do a joint. Wipe the tip on a wet sponge and apply fresh solder to the iron. Then apply the solder to the joint using the wet solder from the iron tip to heat the joint and melt the new solder you are applying
Also clean the components leads before soldering. Components often come in strips with glue on the leads. It’s worth giving the leads a clean with wire wool or other abrasive to get the surface adhesive off before tinning them, to make sure the solder sticks.
Don’t use the iron to “paint” solder onto the joint. The idea is to use the iron to transfer heat to the joint so that it causes the applied solder to melt directly onto the joint.
“tin” the joints by heating all leads and applying solder to all joints before creating mechanical contact.
The aim is to reduce the time you are applying heat to the joint. Sustained heat damages electronic components and lifts PCB pads and tracks. Short bursts of higher heat are preferred over sustained heating. If you are having problems it usually means your iron isn’t hot enough or you haven’t “tinned” the joints well enough.
Allow solder joints to cool naturally. Don’t blow on them or artificially cool them. Make sure they done move whilst cooling. If the joints are mechanically sound before soldering, this will tend to prevent them moving whilst the solder sets.
Don’t over-apply solder. Doing so can damage both components and PCBs and makes maintenance hard. A small, well applied amount of solder per pad is enough.
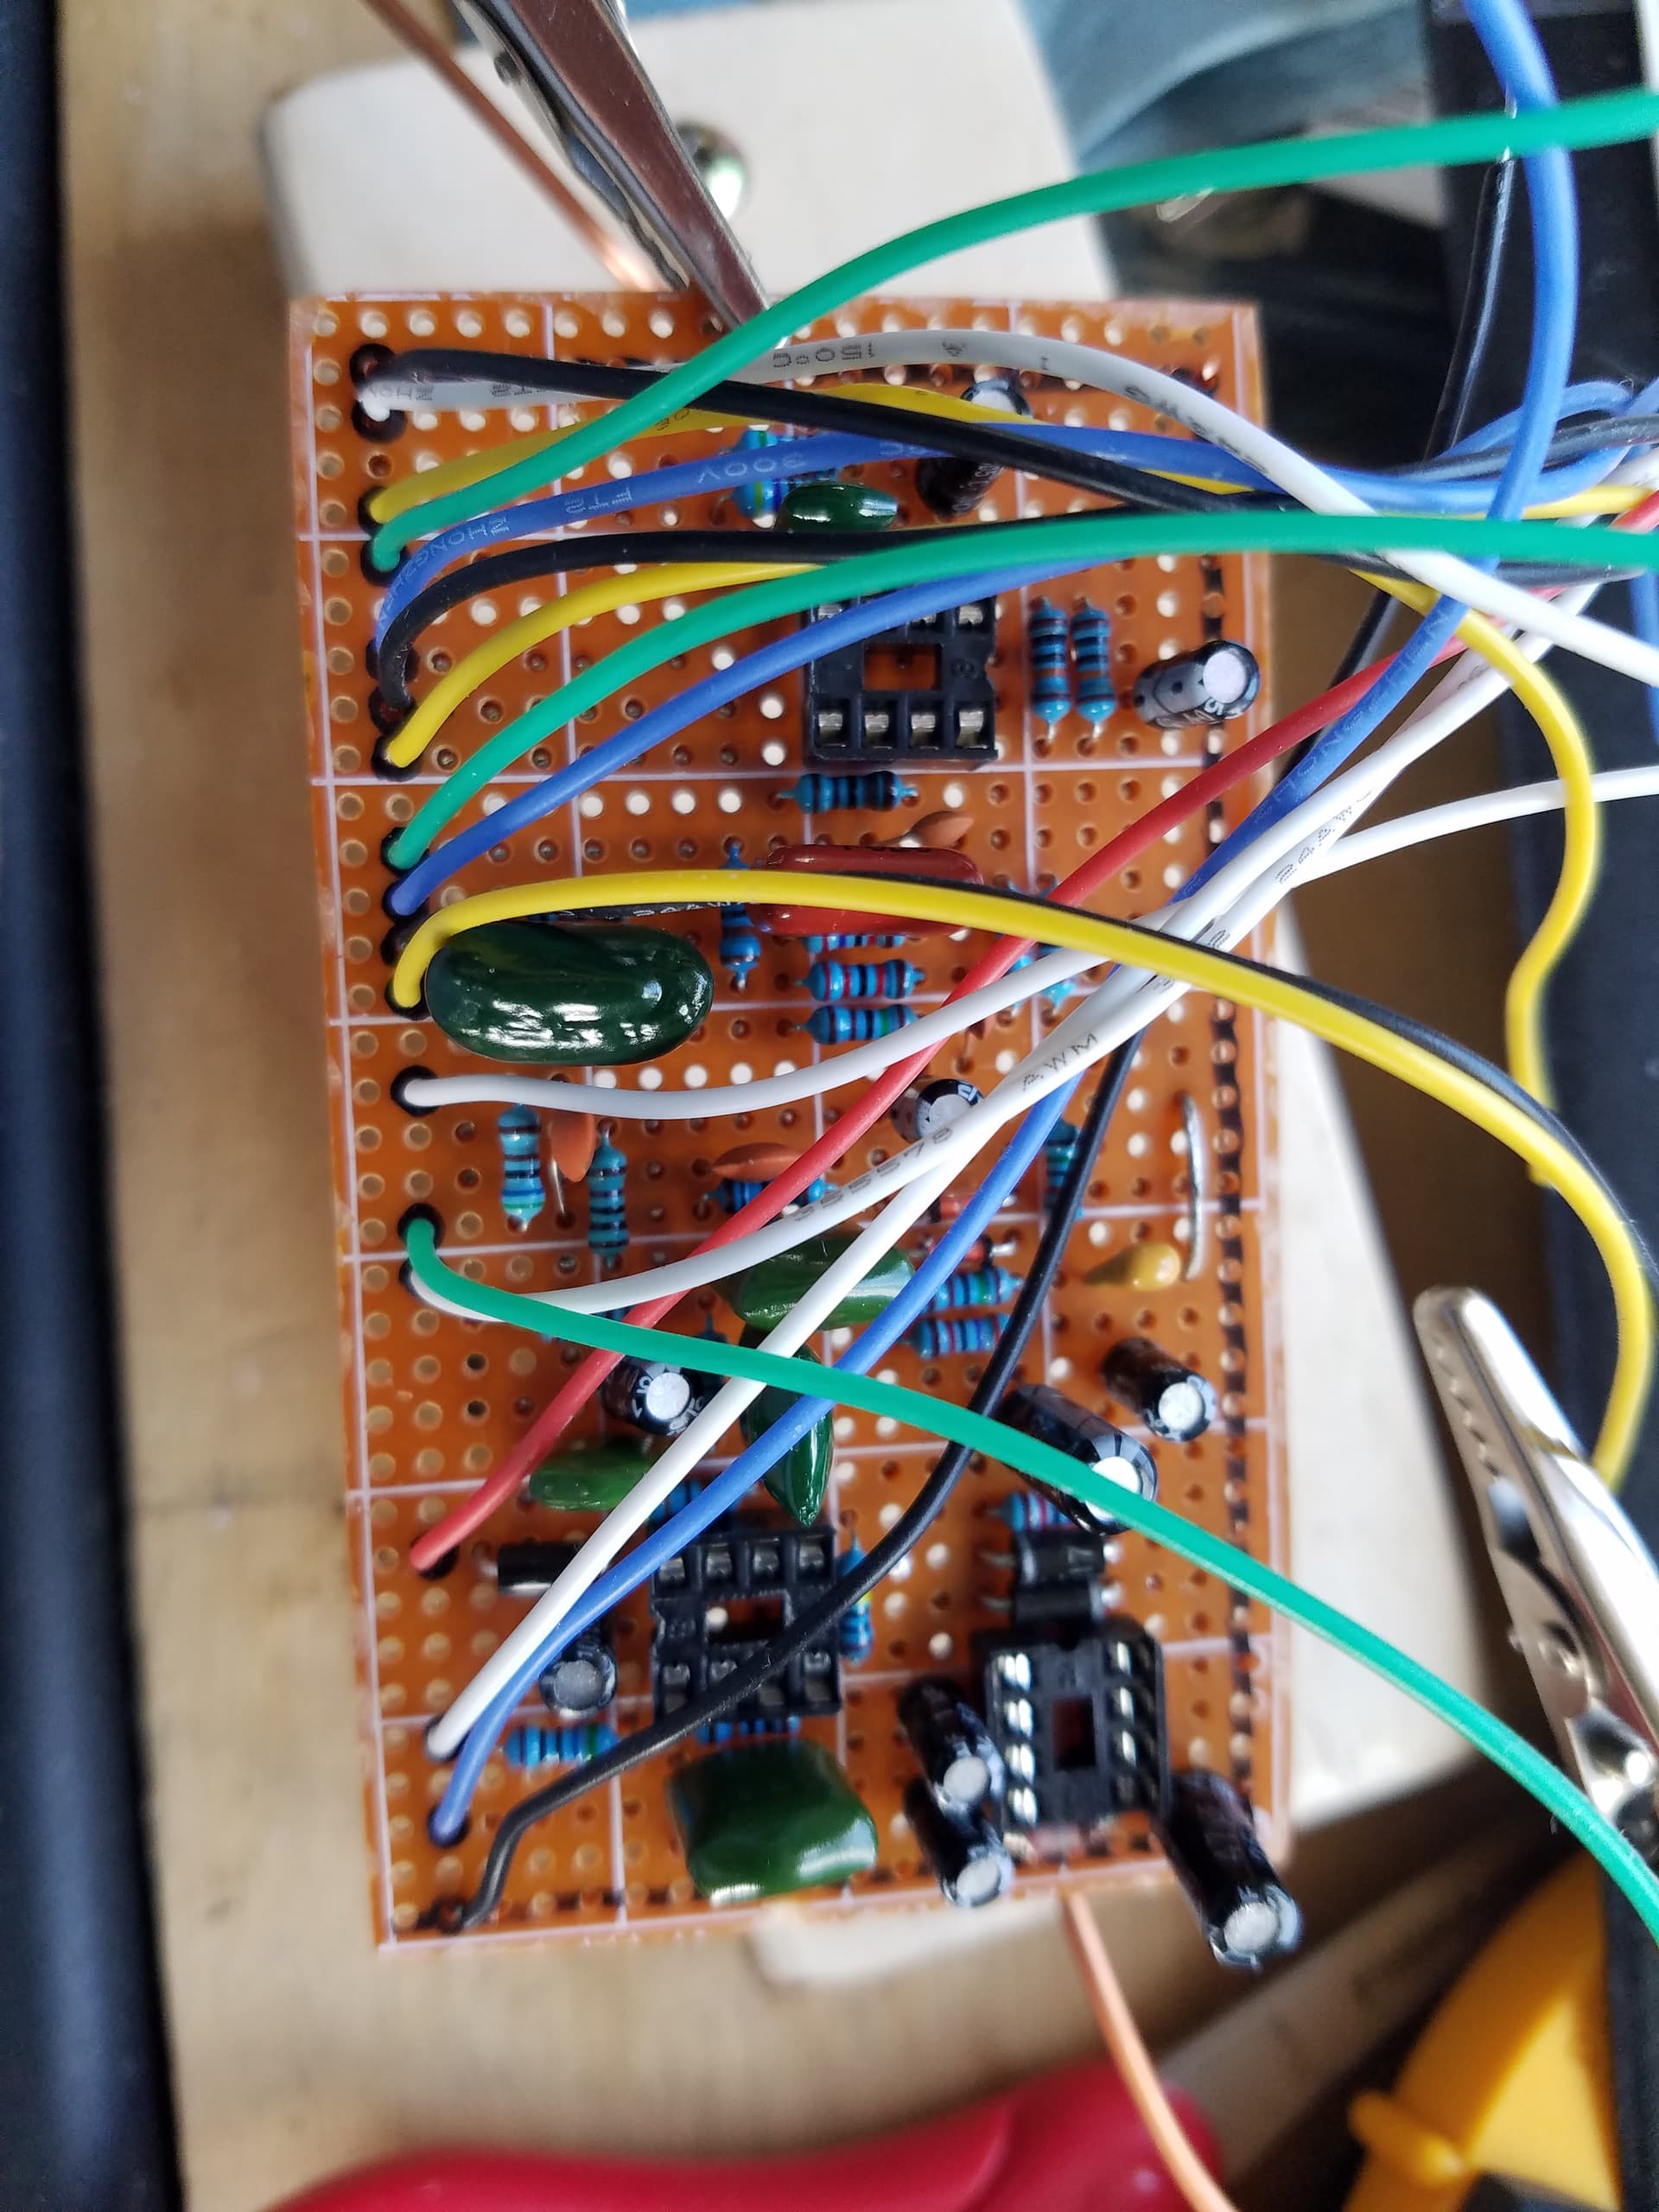
It is indeed… it’s prototyping perfboard the traces are all solder… Iv’e recently bought the materials for etching pcb’s but haven’t tried it yet. I think the hardest part about that will be drilling the holes in the center of the pad.
@Lefteris if your into micro controllers there are several Arduino Kits for programmable peddles.
They range from very basic to quite advanced.
If you interested here a link to one. I can see Keith(Majik) building one of these.
Blimey Keith must be more that 25 yrs mate. Didn’t they get taken over at the end of the 90s.
I remember their place at Stanmore but that could have been their defence arm. You are waking up interesting memories for me but nothing to do with welding (a reference to my own soldering skills ).
I’ve assembled the PCB for a Fuzzdog kit in the past, but I have no idea where it currently is, or what kit it was. I think it was some kind of analogue bit crusher.
I couldn’t decide on a design for the enclosure, so I never got as far as assembling it into a finished pedal.
Thanks Joshua!
I’ve spent some time reading and watching online. I’ll never feel ready so I’ll just dive into it ans be careful.
Good thing that these are relatively inexpensive so I won’t be too upset if I don’t get it right.
Wow that’s a really detailed guide Keith. I appreciate you took the time to write that down amd share the knowledge. I’ll probably print this out and keep it somewhere close!